Extruder Calibration
Extruder calibration is simply the process of ensuring that when you command the printer to extrude 100mm of filament, it actually extrudes exactly 100mm. Don’t confuse this with the extrusion multiplier; one is a printer setting, while the other is a filament-specific adjustment.
Why is it Important?
Extrusion calibration is crucial because it ensures that the printer extrudes and retracts the correct amount of filament during the printing process. Proper extrusion calibration leads to better print quality and improved mechanical properties of the printed object.
- Prevents Over Extrusion
- Prevents Under Extrusion
- Enhances Print Quality
- Affects Retraction
How to Calibrate?
Here you can find the detailed intructions to calibrate your rotation distance below:
Make sure your hotend is not fully or partially clogged before the calibration. Clogs can cause wrong calibration.
Manual Calibration
a) Let the printer to extrude 101mm or higher.
- printer.cfg
##########################################################################################
## Define "max_extrude_only_distance" to extruder section and set it to "101" or more
##########################################################################################

[extruder]
#step_pin: PG12
#dir_pin: PG11
#enable_pin: !PG13
#microsteps: 16
#rotation_distance: 33.500
#nozzle_diameter: 0.400
max_extrude_only_distance:101
#filament_diameter: 1.750
#heater_pin: PB1 # Heat0
#sensor_pin:  PC1 # T0 Header
#sensor_type: EPCOS 100K B57560G104F
b) Heat up your hotend.
- Console
###############################################################
##  Change the [XXX] to the temperature you want to heat up  ##
###############################################################

M104 S[XXX] ; Heat up the hotend to [XXX]c°- Cold Tuning
You can calibrate your extruder while the nozzle is cold but that requires to removing the nozzle for the direct drive and removing ptfe tube for the bowden setup. You need to define
min_extrude_temp:0under[extruder]section in theprinter.cfg
c) Extrude a bit to enable the stepper.
- Console
M83             ; Set extruder to relative mode
G1 E5 F50       ; Extrude 5mm
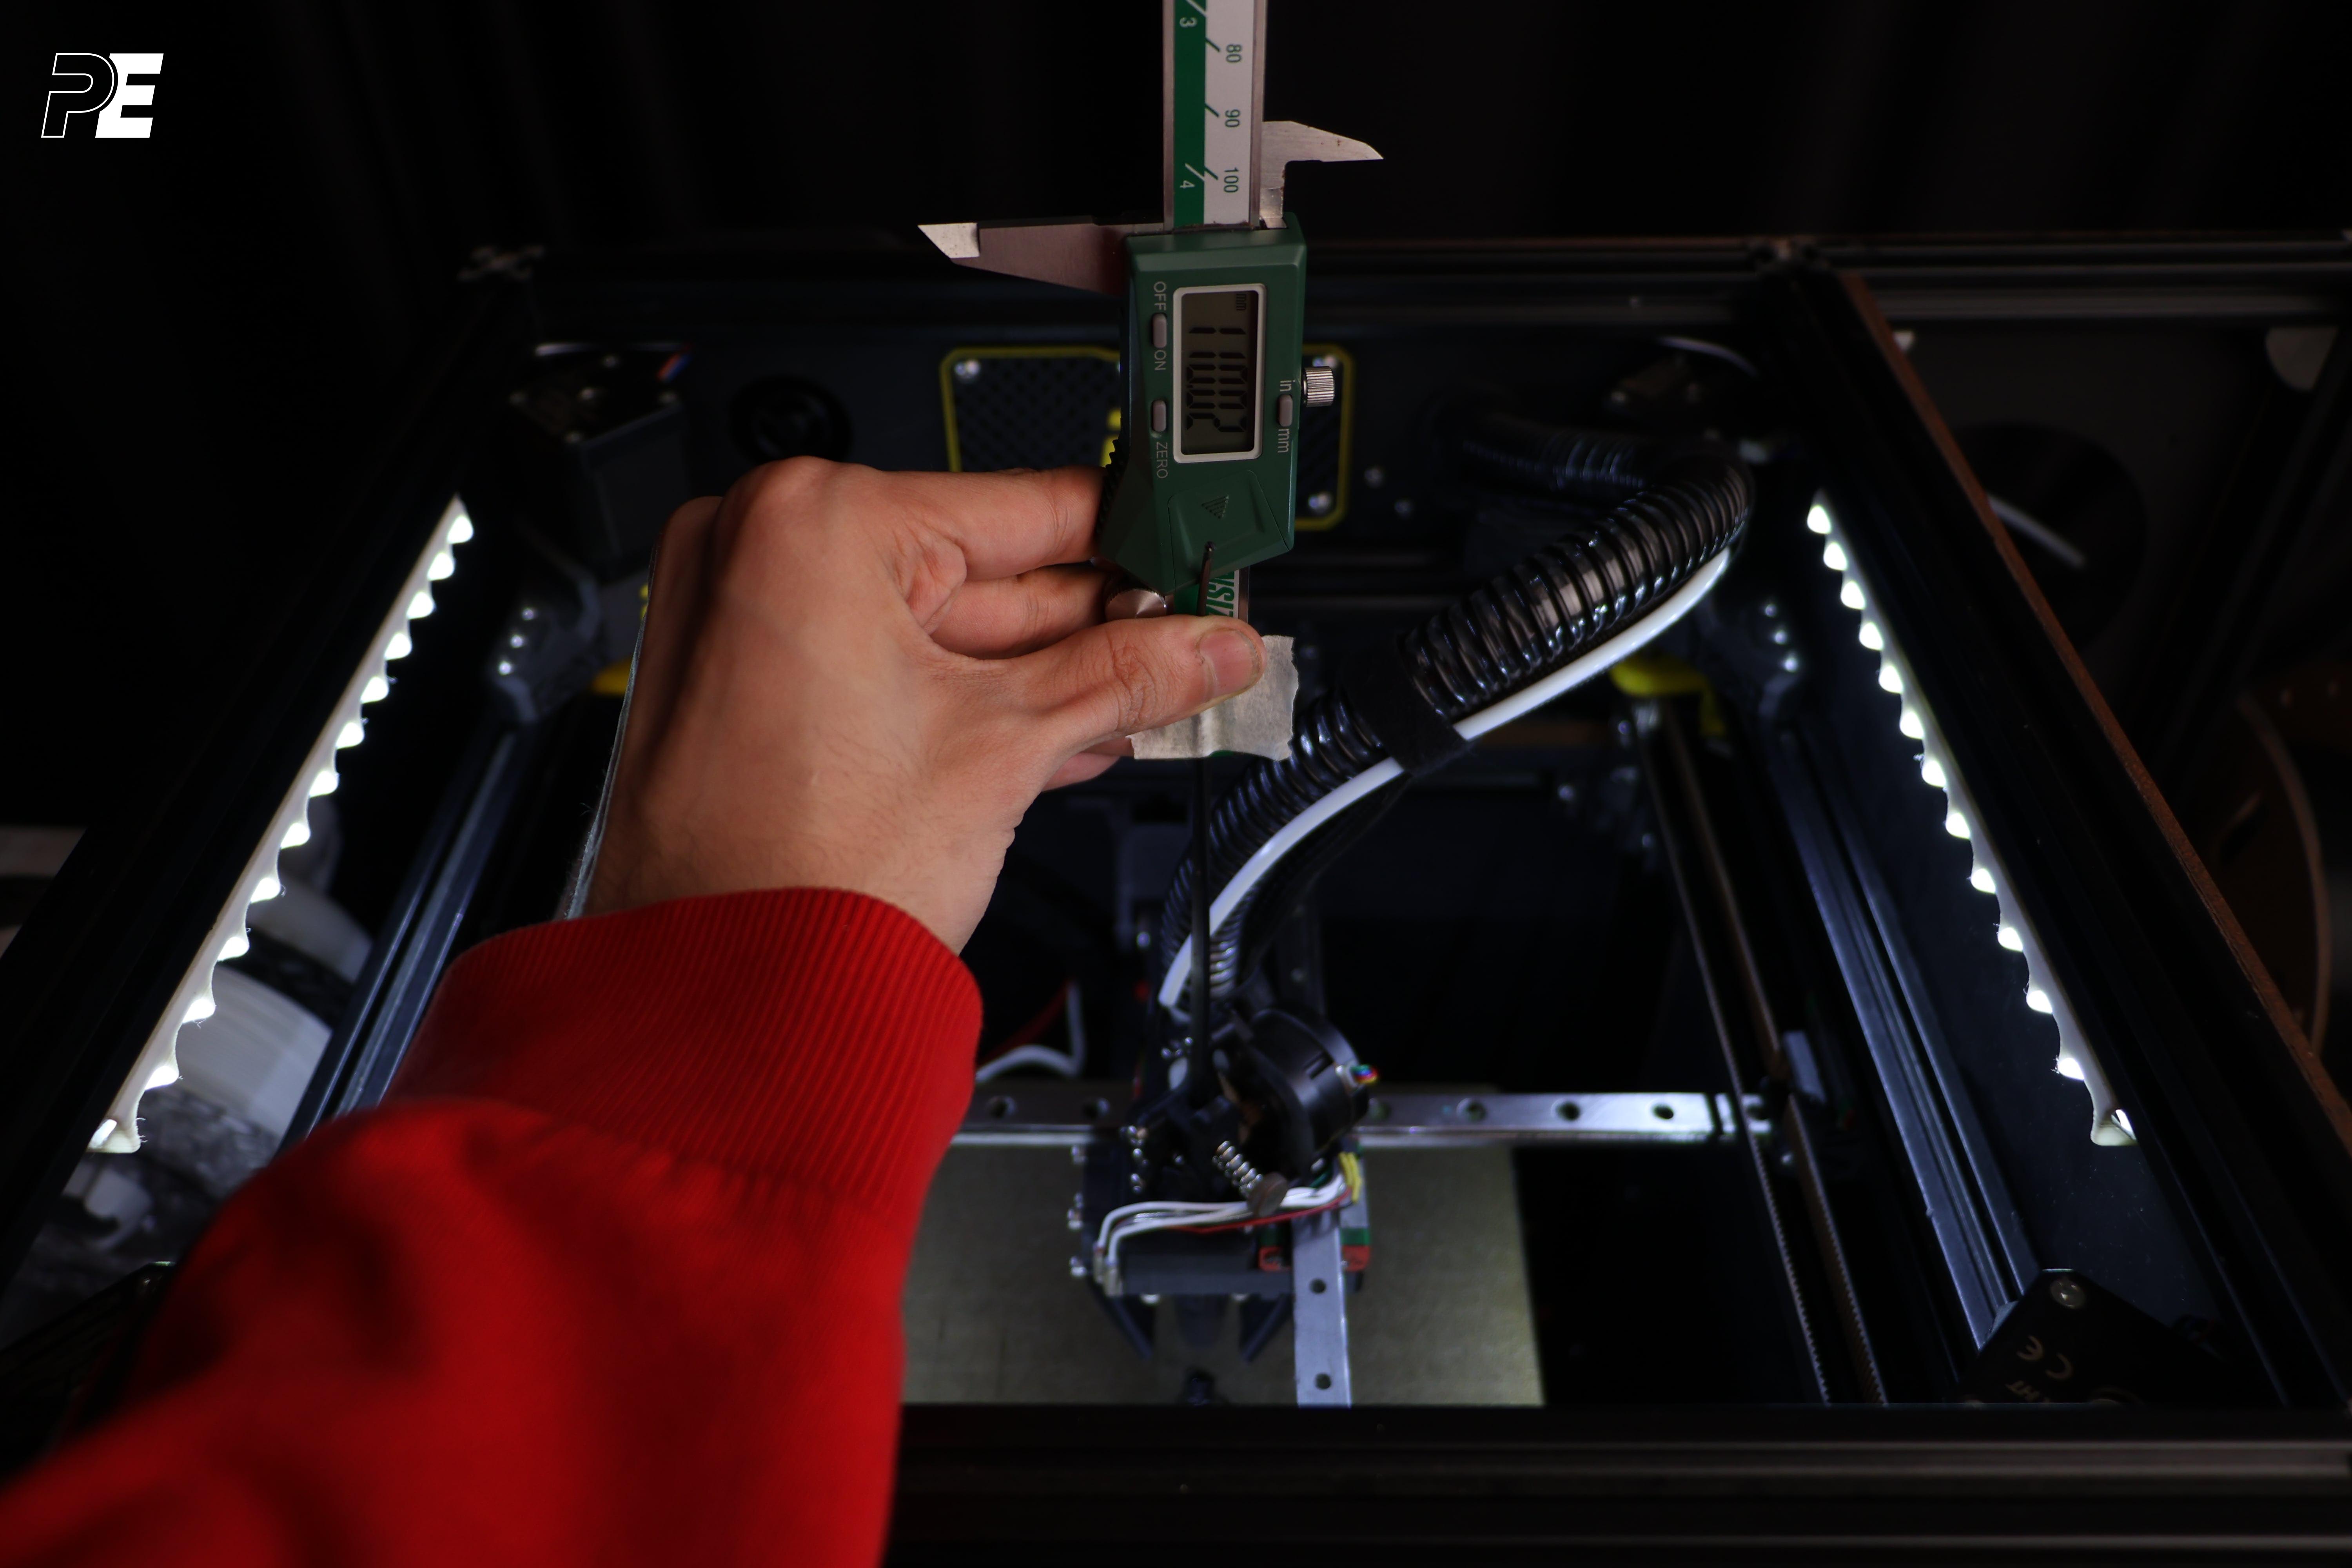
d) Use your caliper to place a piece of tape to desired lenght, for example 110mm.
- tip
For example, if you're going to do calibration over 100mm, place the tape to 110mm. This way, while extruding filament, you'll prevent the tape from getting inside the extruder.
e) Extrude 100mms of filament.
- Console
G1 E100 F60 ; Extrude 100mm
f) Measure the distance between the tape and extruder.
Measure the distance between the filament entry point of the extruder and the tape using calipers. In our example, we marked it at 110 mm and extruded 100 mm of filament. The measured distance came out to be 97.6 mm.

How to Calculate?
We offer you two different options to calculate your new rotation distance. The first option allows you to calculate it by plugging your measured values into the formula, while the second option provides a Klipper macro.
Rotation distance is calculated by this simple formula below:
Don't forget that you placed the tape 10 mm higher than where it should be, so you need to subtract 10 mm from the measured filament length.
Manual Calculation
You can calculate your new rotation distance value by yourself using calculator.
When we plug the actual values into the formula:
According to our calculations, our new rotation distance value is
23.35Replace the rotation distance with the new value that you have calculated.
- printer.cfg
###############################################################
##  Replace current "rotation distance" with the new value   ##
###############################################################
[extruder]
#step_pin: PG12
#dir_pin: PG11
#enable_pin: !PG13
#microsteps: 16
rotation_distance: 23.35         ; Replace the rotation distance value
#nozzle_diameter: 0.400
#max_extrude_only_distance:101
#filament_diameter: 1.750
#heater_pin: PB1 # Heat0
#sensor_pin:  PC1 # T0 Header
#sensor_type: EPCOS 100K B57560G104F
Automated Calculation
With the following macro, you can automatically calculate your new rotation distance in Klipper. All you need to do is click the small arrow next to the macro shortcut, enter how many millimeters you want to extrude and the measurement you took after extruding. The macro will automatically pull the current rotation distance from your Klipper config, process it with the values you provided, and display the new rotation distance in the console. You just need to update the rotation distance in your printer.cfg with the value shown in the console.